It’s been a while – 6 months actually!! In that time I’ve been on two holidays to Cyprus and Spain but by far the most exciting thing to happen in that time is welcoming two furry new additions to our family!!
Meet Fozzie and Bella – our Shar Pei pups!!

To say they’ve been keeping us busy is an understatement!!
Anyway back to the challenge. The challenge this month was to use an acrylic paint technique called a ‘Dirty Pour’. There are various ways of creating the look should you Google search it but the method taught in the tutorial video was to use different sized plastic couplers within each other and pour 2 or more colours into each one. You also needed a base colour which would be poured around the couplers/pipes once you’ve finished pouring the colours (or during if you need to anchor down the couplers.
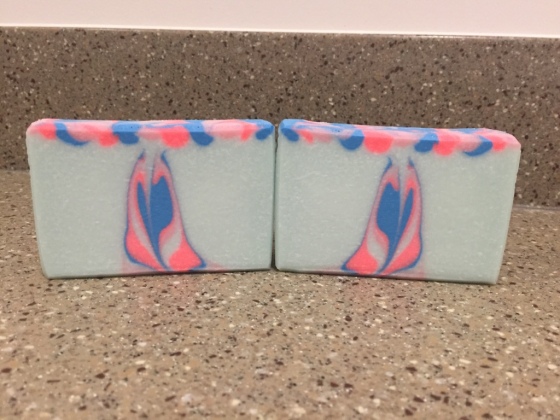
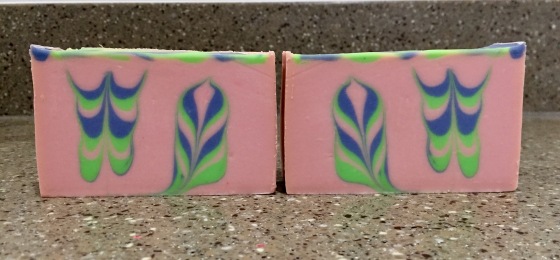
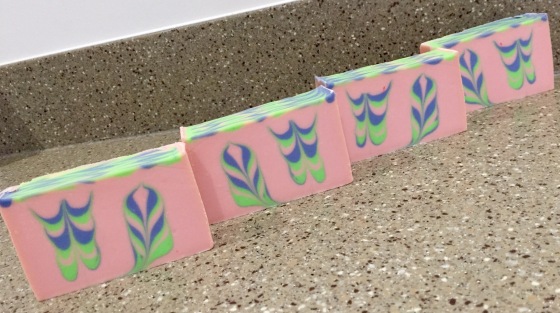
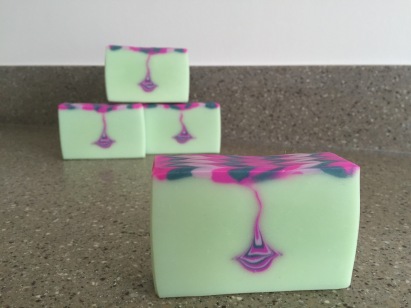
I decided for my first attempt – which isn’t my entry – to use a 4 inch coupler with a 2 inch coupler inside it. For this first attempt I decided to use pale & dark pink and pale & dark blue with a pale green base. Fragrance for this attempt was Black Raspberry Vanilla which is amazing and will definitely be a scent I purchase again!
Once the alternating colours were poured into the couplers I filled the empty spaces with my base colour before removing the couplers and letting the soap blob out into the base soap. In the tutorial video the drops from the couplers were allowed to drip and were shaken over the top of the soap – me being a bit of a control freak and liking order I decided against this and to stick with just the pattern formed by the soap that was inside the pipes but I since realised that a lack of preciseness is exactly what this challenge is all about. Once the pipes are removed the idea is to tilt the mould (a slab mould by the way) and let the soap slide to the sides – this is not a spin swirl though so you must resist the urge to twist rather than just tilt. I found it was quite hard to get the colours to fill the spaces taken up by my base colour and was worried about the colours muddying together but eventually I got a look I was happy with.

Unfortunately I wasn’t totally in love with the colours once the soap was set – although steaming did make it look a little brighter.

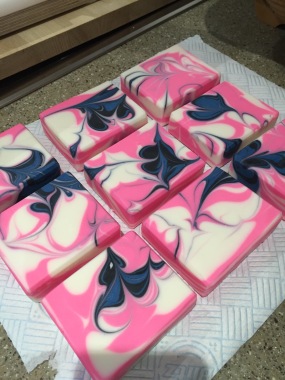
I also found that planing off the top of some of the cut soaps revealed a more vibrant colour. Here’s some cut pics of my first attempt:


Onto attempt number two.
For this try I decided I would use the same two couplers as before but have the smaller one slightly off centre inside the bigger one as well as using two smaller pipes alone in some of the extra space in an attempt to get less empty base colour space in my finished soap – although looking back I now think I actually prefer the ratio of base to colour in my first attempt.
Colours for this attempt were various purples and blues with a white/cream base.
Here’s the mould with the pipes in place – held in place with some melted cocoa butter.

I had a purple and a blue each for the two different sized couplers with a bright vibrant cerise that I used every so often to break up the colours. Once the pipes were full up I poured by base soap into the empty spaces and pulled out the pipes one at a time starting with the biggest. This time I let the drops from the pipes fall all over the top of my soap even giving them a good old shake to get plenty on there – the control freak inside was really not happy about this!! Then onto the tilting which I found harder this time as I’d decided I wanted to make thicker bars than last time so made a larger batch but to be honest it made tilting the soap and getting motion into it a lot harder than in my first batch. I think the next time I attempt this technique I will go somewhere in-between the two batch sizes in an attempt to get the best of both worlds.
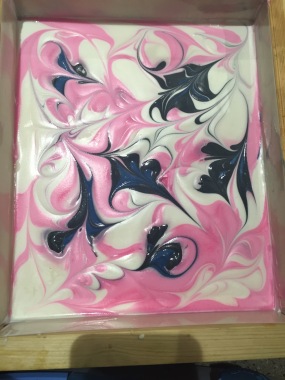
Here’s a pic of the top after I’d poured and tilted – you can see how the middle isn’t showing as much movement as the outside edges:

I enjoyed learning this technique and letting go a little – it’s definitely one I will be trying again just so that I can see if a slightly smaller batch size than this one will give me the movement that I want.
Here’s the bottom of the soap once removed from the mould – you can see the cocoa butter that was holding the pipes in place:

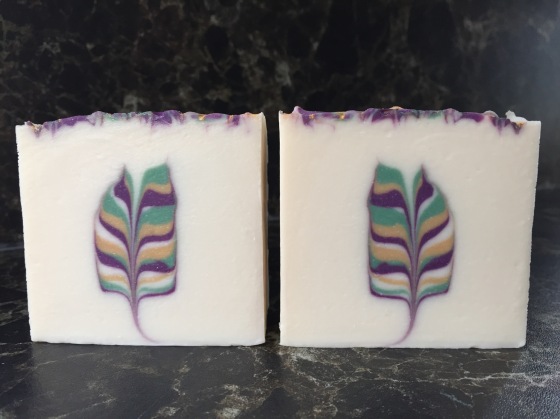
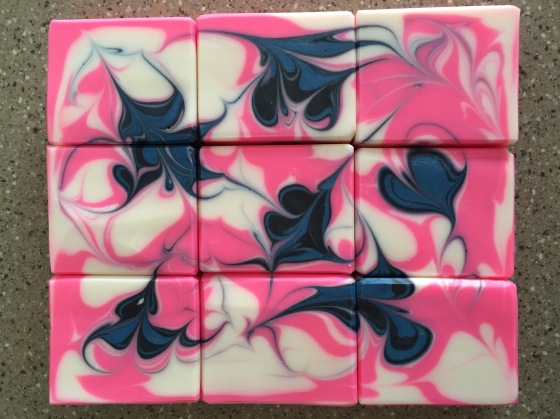
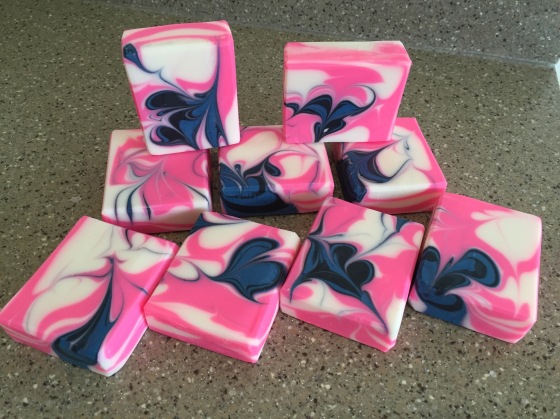
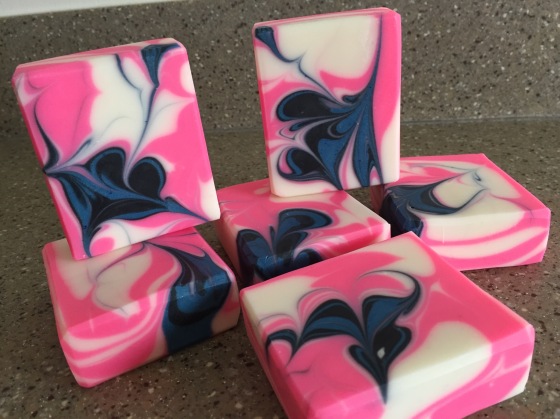
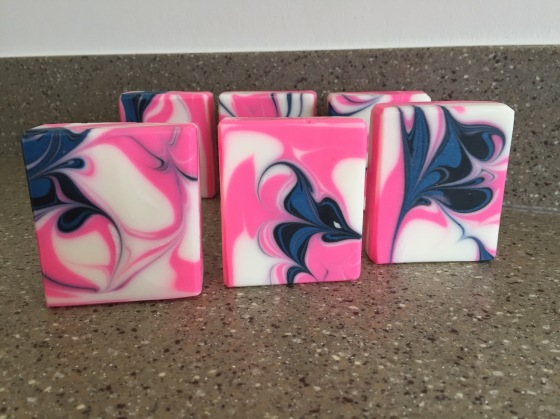
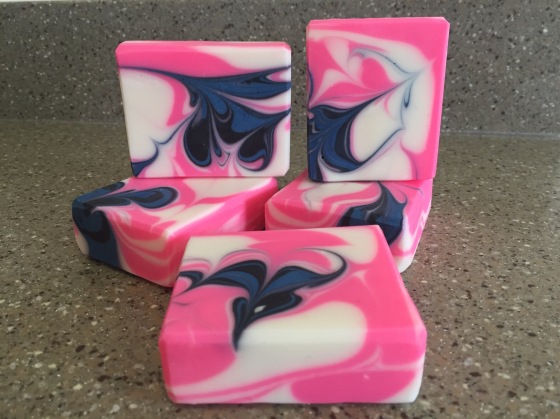
Finally here’s lots of cut pics:
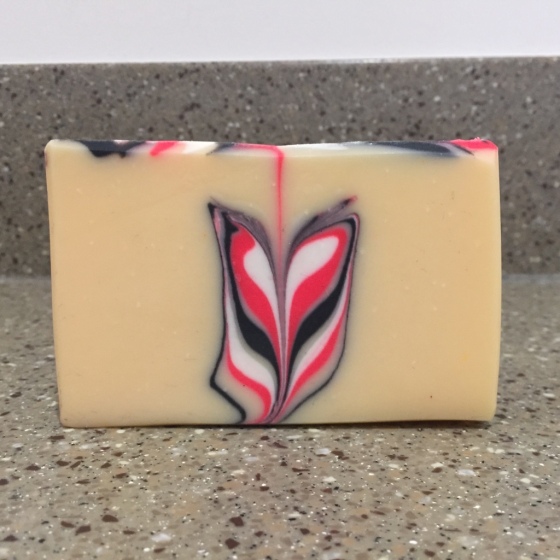
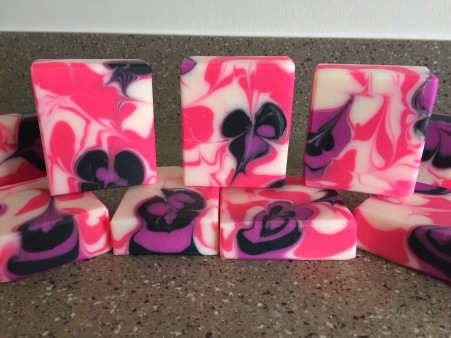
And I think this one will be my entry photo for this challenge:

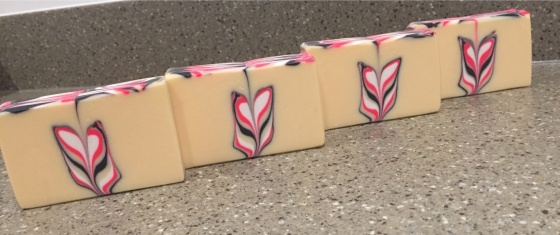
Or this one: